The Biomechanics of the Wrist Joint
In this blog post, we will learn about the motions of the wrist joint. They are not heard to learn; and all it takes is a little practice to remember them. Once you learn what the motions of the wrist joint are, you will be able to look at others’ form in badminton, but also understand your own, which is the goal.
Let’s begin.
Active Range of Motion: Wrist & Hand (youtube.com)
#1 Flexion
When you bend your wrist in a downward motion, the joint is flexing.
#2 Extension
If you move the wrist from the downwards position back leveled with the forearm, then the wrist joint is extending.
#3 Hyperextension
When you bend your wrist from a leveled position with the forearm in an upward motion, the joint is hyperextending.
#4 Radial Deviation
When the wrist shifts/glides inwards, it is in radial deviation.
#5 Ulnar Deviation
When the wrist shifts/glides outwards, it is in ulnar deviation.
I have purposely used very few words to try and describe the motions of the wrist joint because my personal goal is to make this information more accessible. However, there is more to learn if you wish to go into detail. Take a look at this video. You will clearly understand why we must pronate and supinate through the fingers, as the fingers themselves have joints that flex and extend. Your wrist is not what holds the handle, your fingers do.
More are available on YouTube.
(1) The wrist movements - the main factors restraining the wrist - YouTube
There is a lot of information above + a really nice view of pronation and supination. As previously discussed in the The Forehand Grip Episode, pronation and supination is everything in badminton. Focus should be on teaching/learning the pronation and supination for the ones in your care. Don’t be afraid to teach them the professional terminology as using these new terms will have everyone on the same page and communicating the same meaning. In all of teaching, in all of development, this is paramount, communicating and talking and understanding the same meaning. This will help your students develop faster, quicker and you will have the assurance students really understand what is happening with the radius and ulna bone when pronating and supinating, what is happening with the wrist.
From this, one can infer all sorts of things and ask so many questions per each stroke. I have full confidence you can apply this newfound knowledge without me “giving” the answers, but let’s take a look at one example and try and walk through what happens with the wrist.
If you remember the defensive clear from the previous post, The Biomechanics of the Shoulder Episode, then you remember I used the word ulnar deviation of the wrist to describe the end motion of the joint as activated through the fingers together with the pronation of the forearm. But before there is ulnar deviation, there is hyperextension. So yes, the wrist joint moves from hyperextension, through extension, through flexion as well. What’s important to understand here is that moving through the whole range of motion creates more “snap”. Snap isn’t quite the right description, even though coaches use it. It’s not just moving from hyperextension to extension, but also from supination to pronation and finally in ulnar deviation. Coaches should really say: “Pronate trough the fingers” once they have demonstrated and then explained the motions of the wrist. They should constantly remind their students to pronate through the fingers. To supinate through the fingers.
Let’s have a bit of practice.
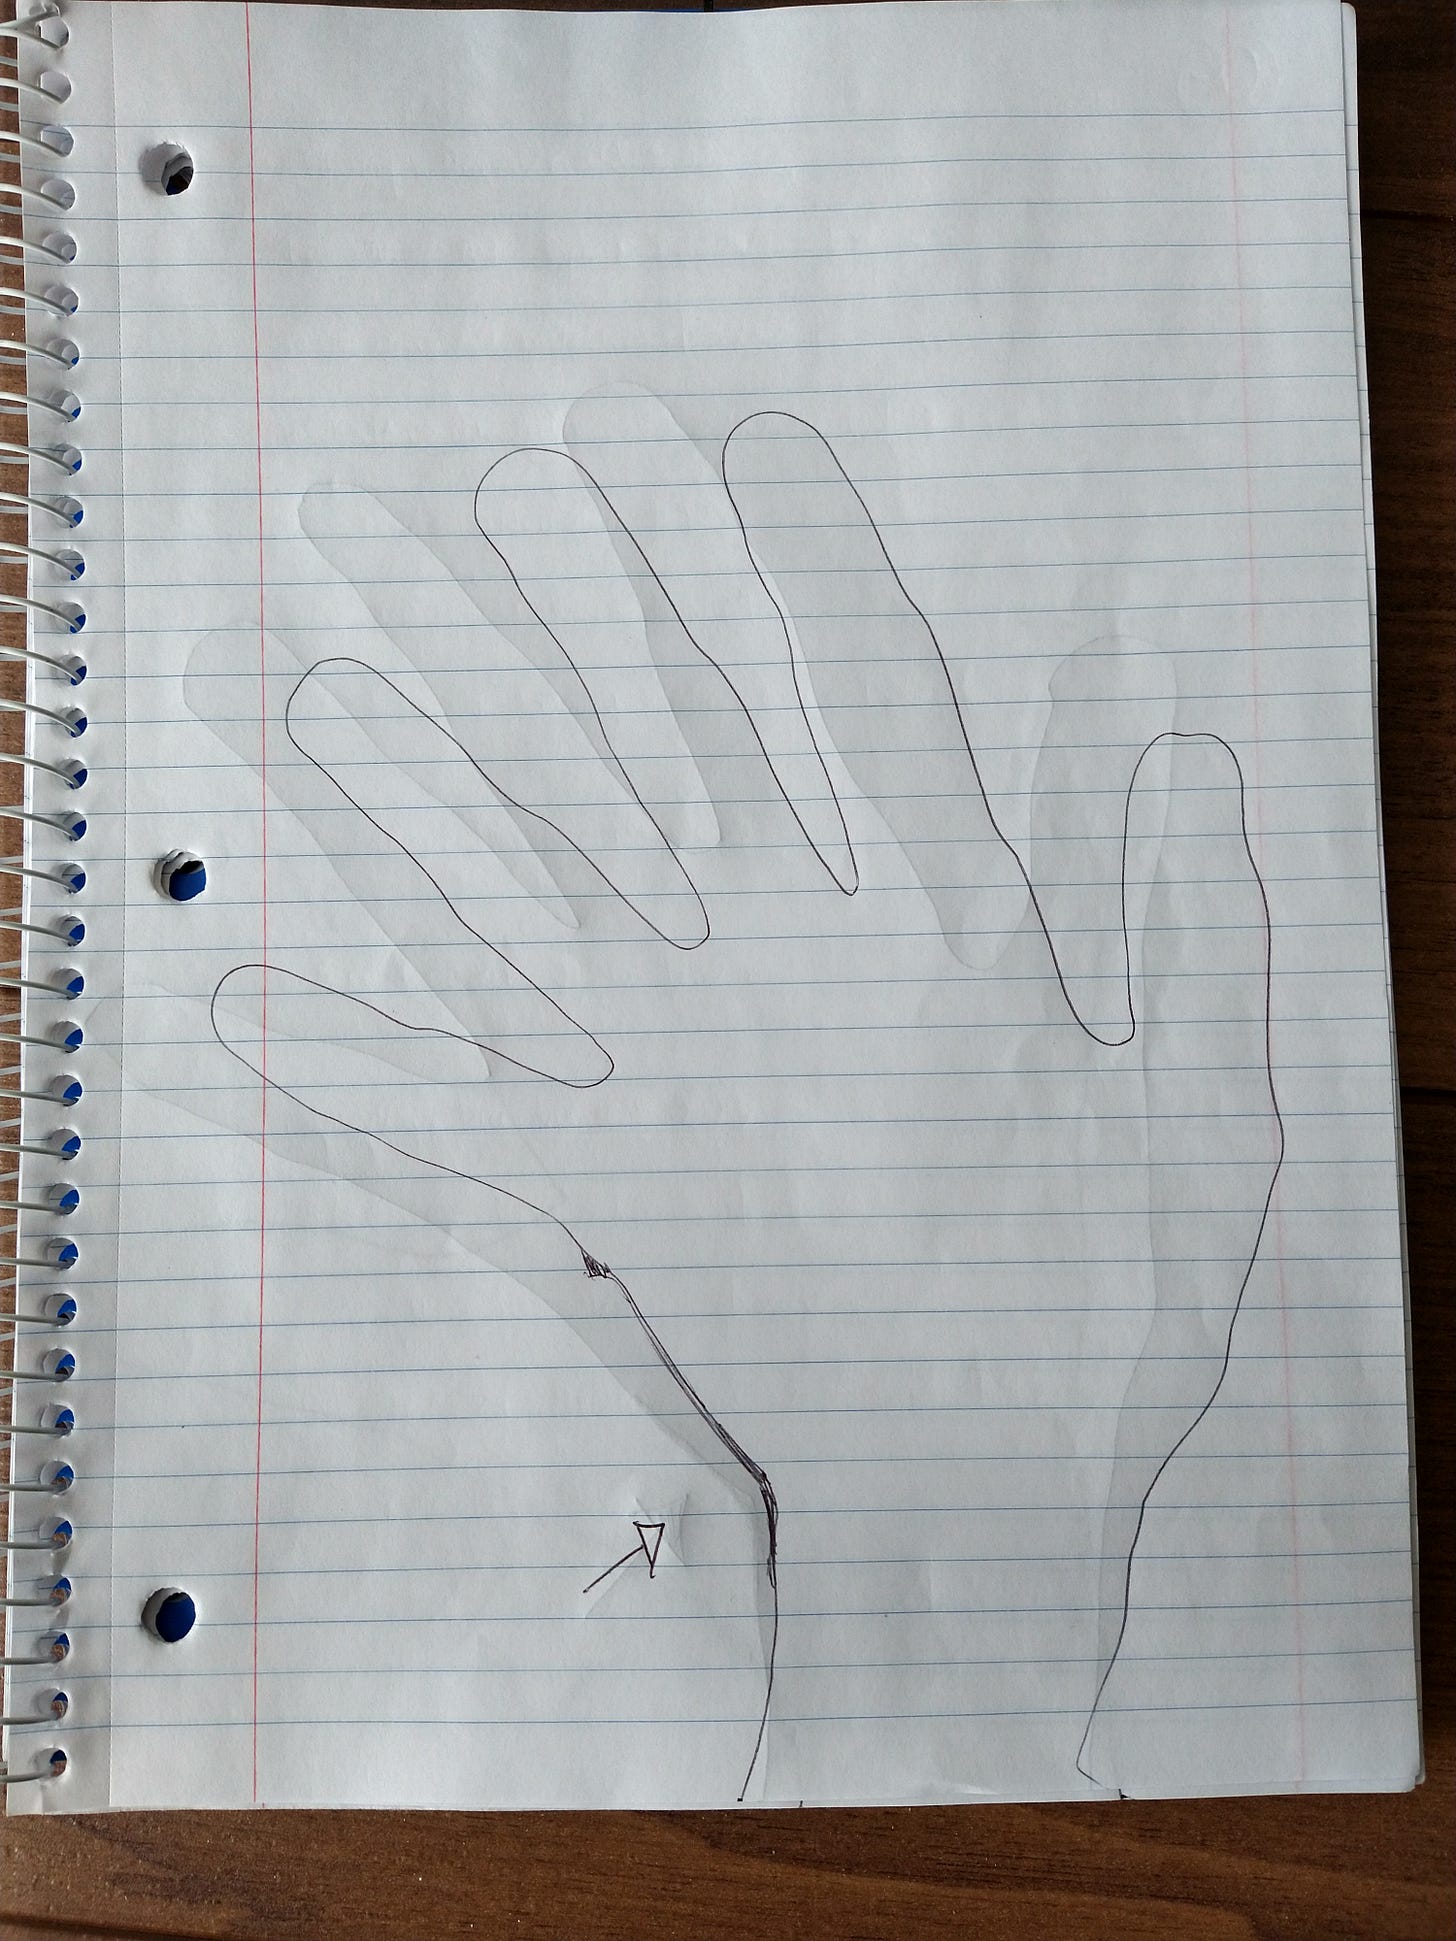
Looking at the photos below, what motion of the wrist is being depicted?
Again, I have chosen this simple modality of representation because I want to make this knowledge as accessible as possible to a wide range of players, their parents, and coaches. If you take the time to learn the motions of the wrist along with pronation and supination (through the fingers) your technique will improve dramatically. More photos and visual representations of the motions of the wrist are available online either in photo format or video format.
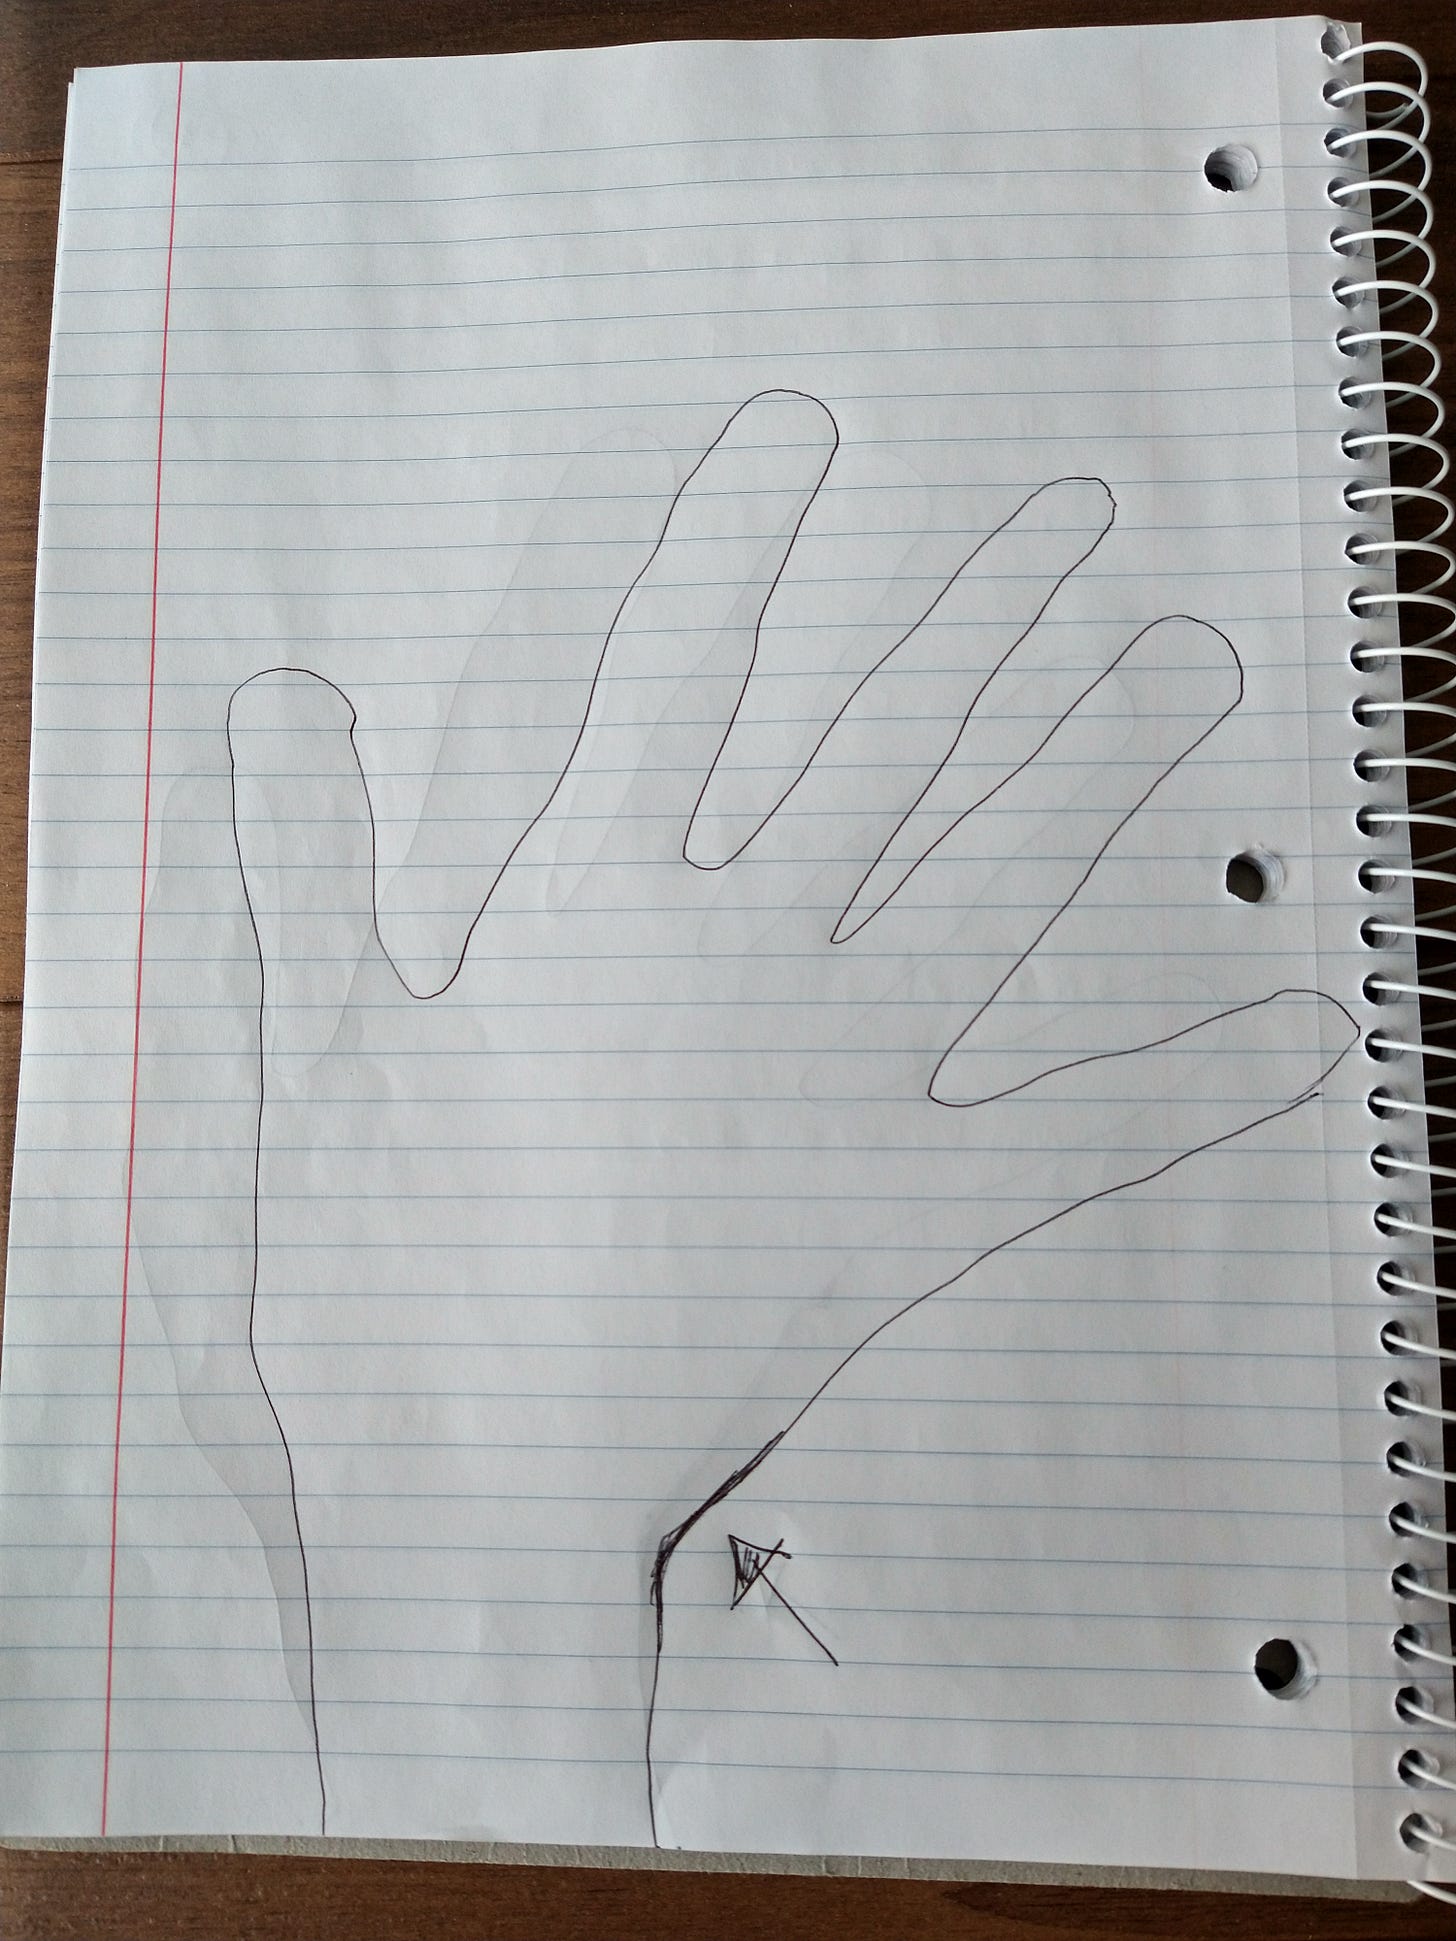
Sometimes, the students I teach draw the motions out. It is a good visual practice for them and helps to conceptualize the meaning of pronation and supination.
Now, you can as well. How about this one?
It is shockingly simple to learn the motions of the wrist. The trick is to take this new information and apply it to badminton strokes, along with the pronation & supination of the forearm through the fingers.
If you search Google for images of different badminton players and analyze the photos that come up, you most certainly will get the hang of seeing the pronation and supination, of seeing the flexion & hyperextension, of seeing the ulnar deviation.
Mizuno recently posted this photo of Japanese shuttler Nozomi Okuhara on its Facebook page. What is happening with the wrist and forearm here?
Put the new concepts to good use.
Until next time!


